Self-enrollment
License seat consumption Every user with an enabled authentication method (even if not functional) consumes a license seat. If any default authentication type is enabled at Settings > Enrollment > Default authentication types, every new user will consume a license seat. |
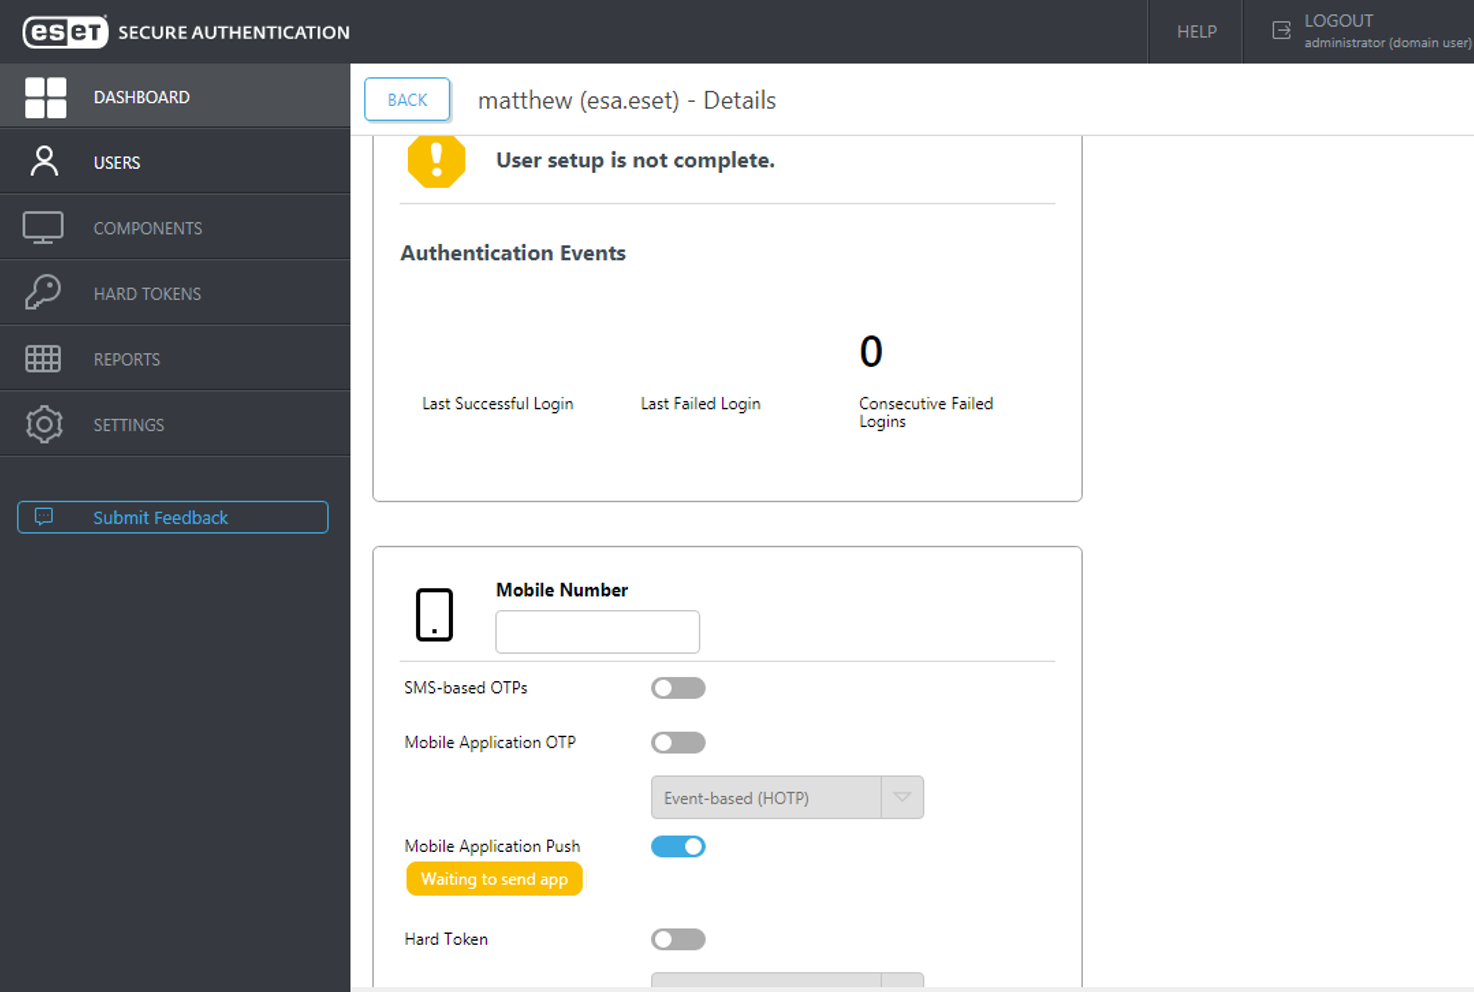
If self-enrollment is not enabled, but the user has a 2FA method enabled and not yet functional due to missing information, they will be unable to log in to a machine protected by ESET Secure Authentication On-Prem (for example Windows Login protection). The user must contact the administrator to generate a Master Recovery Key (MRK) to authenticate.
Enable self-enrollment
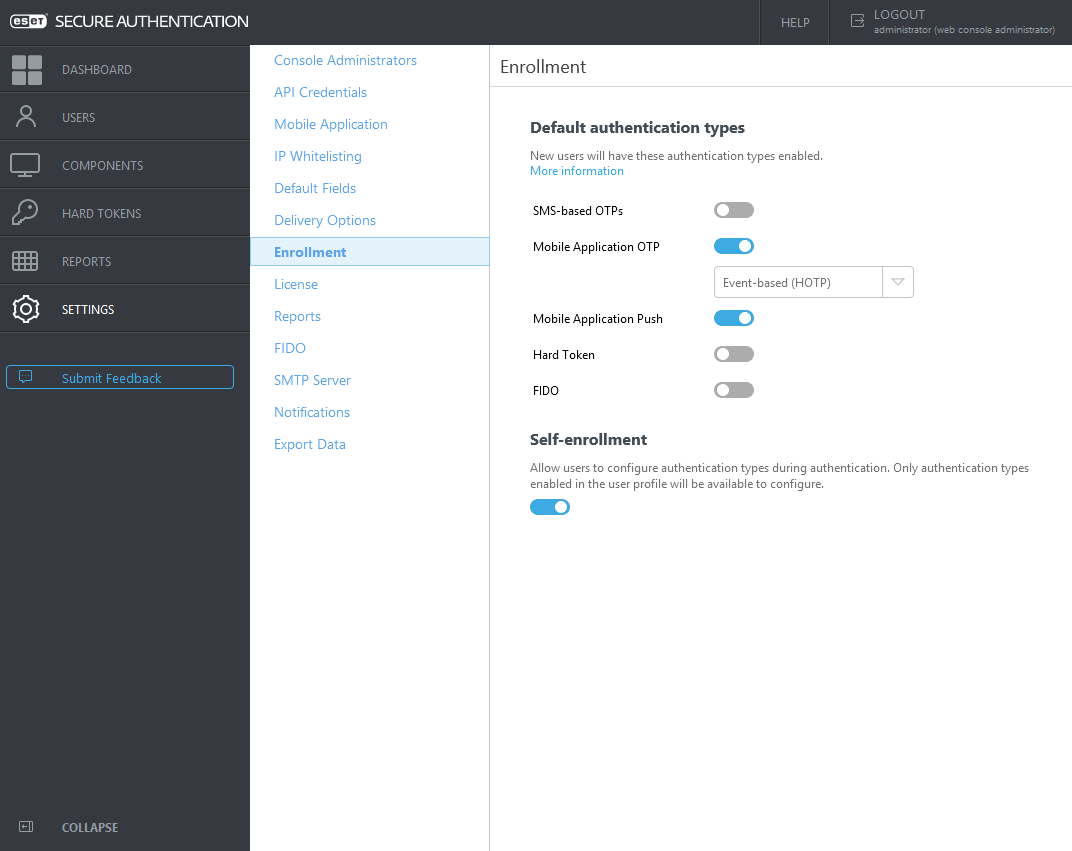
1.In the ESA Web Console, navigate to Settings > Enrollment.
2.Click the desired toggles under Default authentication types to automatically enable authentication options for new users.
3.Click the toggle in the Self enrollment section.
4.Click Save.
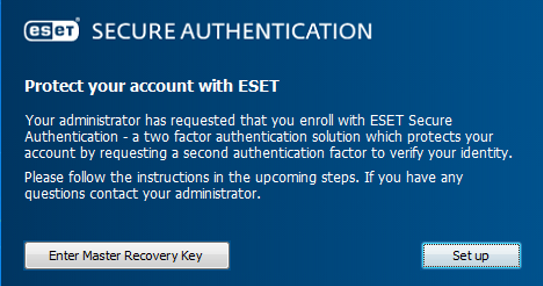
If self-enrollment is enabled, the user can authenticate using MRK. To enroll, click Set up and fill in missing information.
Default authentication types
To assign new users (either imported or created automatically after the first login to an environment protected by ESA) an authentication method by default, enable the desired authentication method in the ESA Web Console in Settings > Enrollment > Default authentication types.
Supported ESA components
Self-enrollment works with the following ESA components:
Add another authentication option
If a user is enabled for Hard Token with Mobile Application Push as the second authentication factor, but has been using Hard Token OTP to authenticate so far (they do not have ESA Mobile App installed or provisioned), and now they want to use another 2FA option, self-enrollment allows them to choose (activate) a new option.
1.Log in to a machine protected by ESET Secure Authentication On-Prem (for example, Windows Login protection).
2.When prompted to type an OTP related to the Hard Token, click Add another authentication method.
3.Type an OTP related to the Hard Token.
4.Click Setup.
5.Scan the QR code using the ESA Mobile Application by tapping Add account inside the app and complete the installation and/or provisioning of ESA Mobile Application.
6.The self-enrollment process requires the user to verify the successful registration of the new authentication method by approving the push notifications.
Self-enrollment example
1.A user has the Mobile Application Push authentication turned on as the default authentication type or the administrator has turned it on in the ESA Web Console.
2.On the next log in to a computer protected by ESA Windows login protection, the user is requested to enroll with ESET Secure Authentication On-Prem. Click Setup.

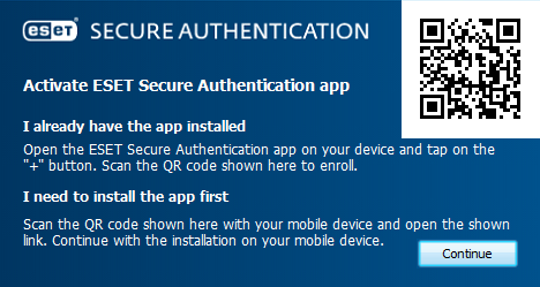
3.If you have the ESA mobile app installed, open it, tap Add account and scan the QR code displayed in the dialog. Click Continue. If you do not have the mobile app installed, scan the QR code to download and install the mobile app. Click Continue.

4.Confirm the push notification sent to your phone. The Verify enrollment window displays a number and the push notification appears on your phone (could take up to two minutes). Approve the push notification if the number on it matches the number shown in the Verify enrollment screen.
5.In the Enrollment successful screen, click Finish.

