Add an exclusion
Typically, when a file is analyzed and evaluated as not clean, your ESET security product automatically takes the action defined in your policy settings. If Quarantine is enabled on the machine, the file is moved to Quarantine (Tools > Quarantine). However, you can create an exclusion for a specific file if you know it to be safe or need to ensure that it is not cleaned for other reasons. File exclusions created by roaming agents will not be added in the Web Console until the agent checks in to the remote management server.
Exclusions can create a risk While the exclusion policy is in place, ESET security products never scan the file. Take extra caution when creating the exclusions. |
Prerequisites for whitelisting a file:
•The file is sent for analysis in the ESET LiveGuard Advanced.
•This information is synchronized to the remote management server.
To whitelist a file from the scanning process:
1.A management console Administrator adds the file's hash as an exclusion to a policy.
2.The policy is applied to selected machines. The file can be used freely on those machines.
You can create a separate policy for exclusions. Create the policy before you add the exclusion.
Add an exclusion
To create an exclusion for a file that has been detected and listed in the Submitted files window in the Web Console:
1.Log in to the Web Console as an Administrator or another user with sufficient permissions for the target computer.
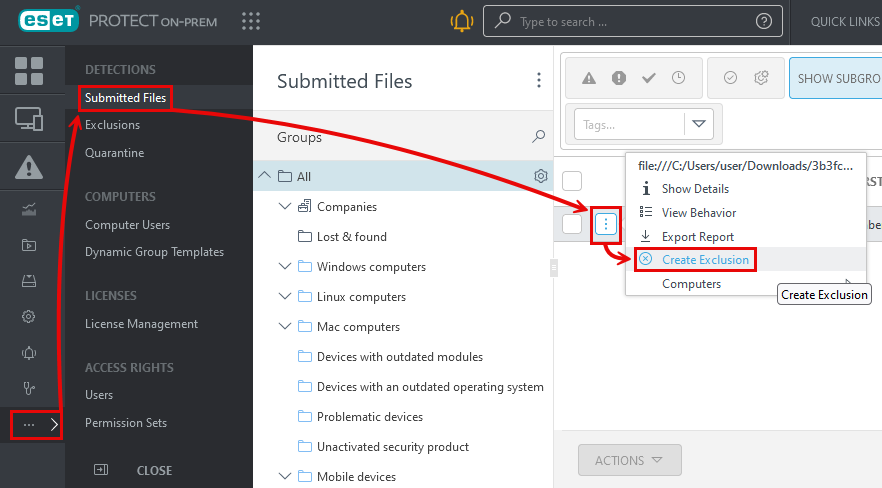
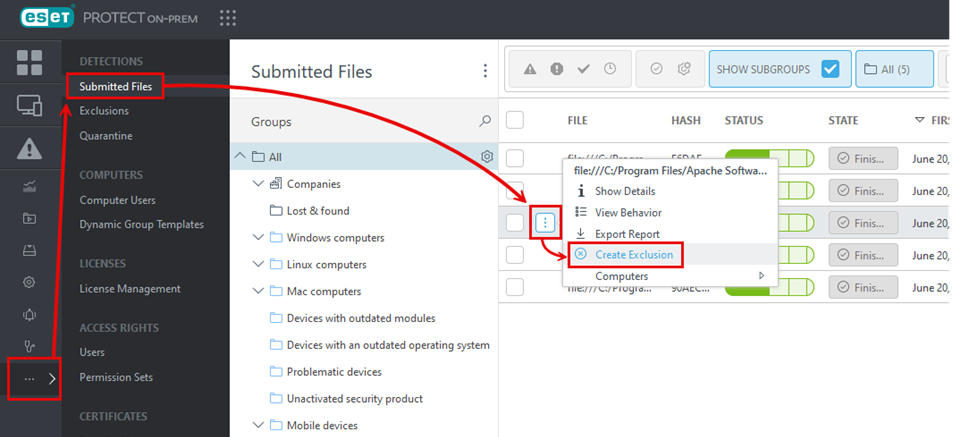
2.Navigate to Submitted Files, select the hash of the file you want to exclude from scanning and then click Create Exclusion.

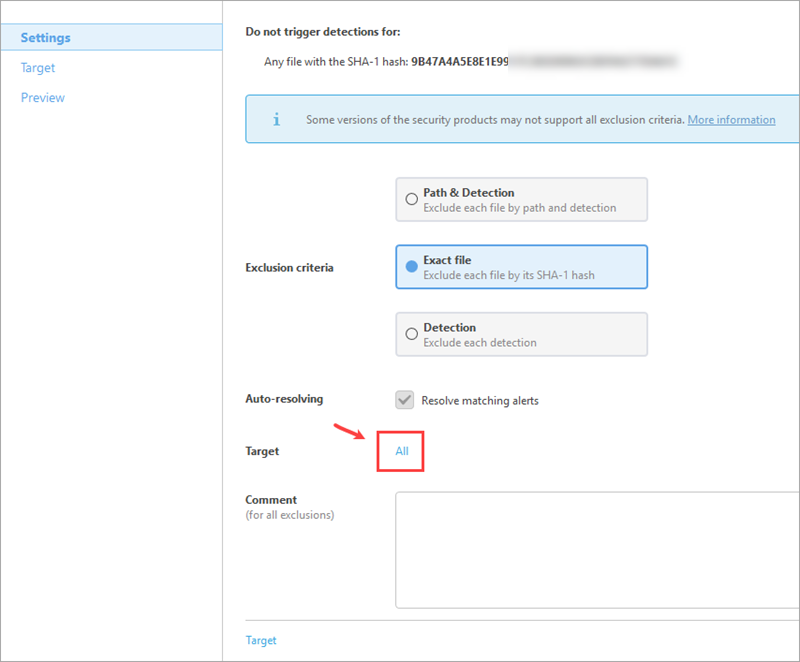
3.Select a Target machine(s) for the exclusion. The group All is the pre-defined target. The exclusion will be applied to all supported ESET products on the target machine.

4.Click Finish to save and apply the exclusion. It can take up to two replication intervals for the exclusion to take effect. You can see the list of exclusions in the More > Exclusions menu.
