ESET PROTECT Web Console
Log in to the ESET PROTECT Web Console
•On your local Windows server (the machine hosting your Web Console):
Click Start > All Programs > ESET > ESET PROTECT Web Console.
•From any place with internet access to your web server, type the URL in the following format (Replace "yourservername" with the actual name or IP address of your web server): https://yourservername/era/
A log-in screen opens in your default web browser. If an SSL certificate warning is displayed, add the certificate exception to your web browser.
|
Use a supported web browser to connect to the ESET PROTECT Web Console. |
When you log into the Web Console for the first time, a Startup Wizard for ESET PROTECT is displayed, and you can use the wizard to deploy ESET Management agents to computers in your network.
ESET PROTECT Web Console user interface
The ESET PROTECT Web Console user interface consists of several parts:
•You can use the Search tool at the top of the ESET PROTECT Web Console.
•Click Quick Links to perform some of the most commonly used Web Console actions.
•If you need help when working with ESET PROTECT, click the ![]() Help in the top right corner and click <Current topic> - Help. The respective help window for the current page is displayed.
Help in the top right corner and click <Current topic> - Help. The respective help window for the current page is displayed.
•The upper right corner displays the current user with the user session timeout countdown. You can click Logout to log out at any time. When a session times out (because of user inactivity), you must log in again.
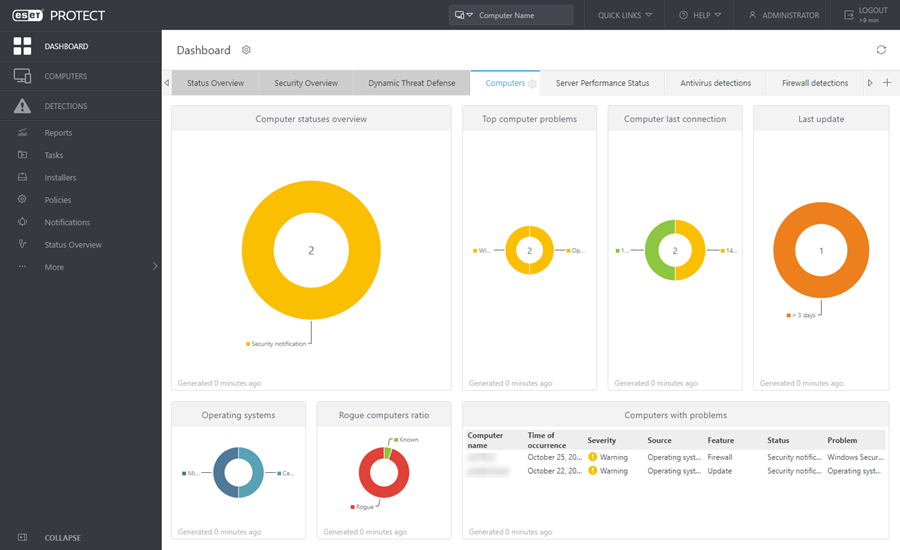
•The main menu on the left side of Web Console contains tools that administrators can use to manage client security solutions and ESET PROTECT server settings. You can use the tools under More to configure your network environment and minimize maintenance needs. You can also configure notifications and dashboards to stay aware of the network status.
The topics below describe the main menu items:
|
|
|
|
|