
Integrate plugin to ConnectWise Asio
|
Prerequisites •Access to the ConnectWise Asio. •MSP user service account in ESET MSP Administrator, with write access to the ESET PROTECT and the enabled permissions required to manage integrations. •ESET PROTECT |

Create a service account
|
Dedicated service account We recommend creating a dedicated user service account for integrations in your ESET MSP Administrator. |

1.Create a user in ESET MSP Administrator with write access to the ESET PROTECT.
2.Enable Integrations for the the user so that the integration can deploy prepared ESET security applications or ESET Management Agent installers.
Integrate plugin to ConnectWise Asio
1.Log in to the https://home.connectwise.com/ and launch the Asio Platform.
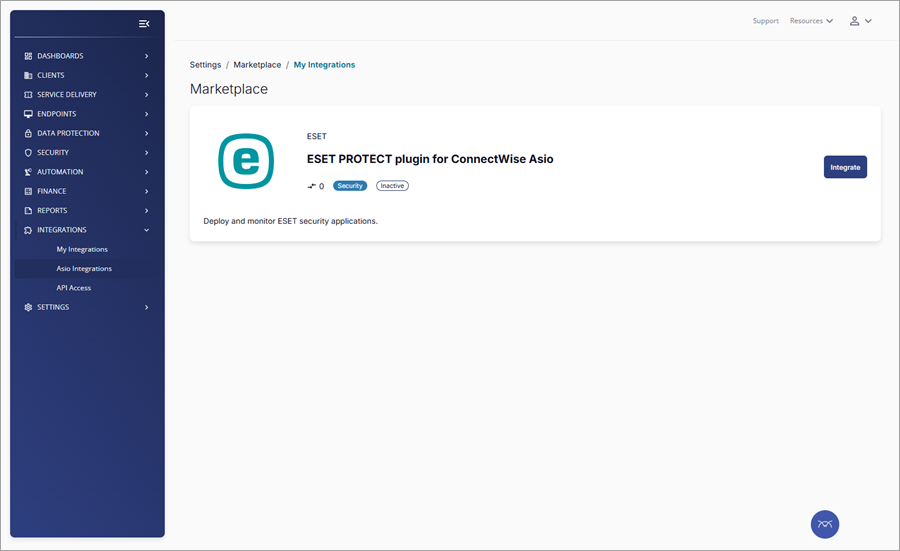
2.In the main menu, click the Integrations > Asio Integrations.
3.Type ESET in the Explore Integrations section in the search field and press Enter.
4.Click the search result with the ESET PROTECT plugin for ConnectWise Asio tile.
5.Click Integrate.
6.In the Connection Setup step, type the Username and Password for the service account user. Select the service account user Region from the drop-down menu.
7.Click Test Connection. A green notification message Connection established successfully will appear.
8.Select the check box next to Grant API Access to ESET PROTECT plugin for ConnectWise Asio. ESET PROTECT plugin for ConnectWise Asio will be able to access your data that is relevant for Integration.
9.Click Save and Proceed. The Connection established successfully message will appear.
10. In the Company Mapping step, use the Company section drop-down menu to map the company or the static group representing a company from your ESET PROTECT MSP account to the corresponding ConnectWise Company (created beforehand). Repeat for each ConnectWise Company.
|
In most cases, map ConnectWise Company to ESET company. However, if you have only one company defined in ESET that contains a pool of subscriptions, create static groups as children of this company in ESET PROTECT. Then, you can access these static groups in the Company section drop-down menu and map them to the ConnectWise Company. |
11. Click Save and Proceed.
12. In the next window, next to Are you sure you want to continue with the mapped records?, click Continue.
13. In the Success step, Congratulations! Your setup is now complete and successful! message will appear.
14. Click Complete Setup to close the configuration wizard.