
Indicator Archive
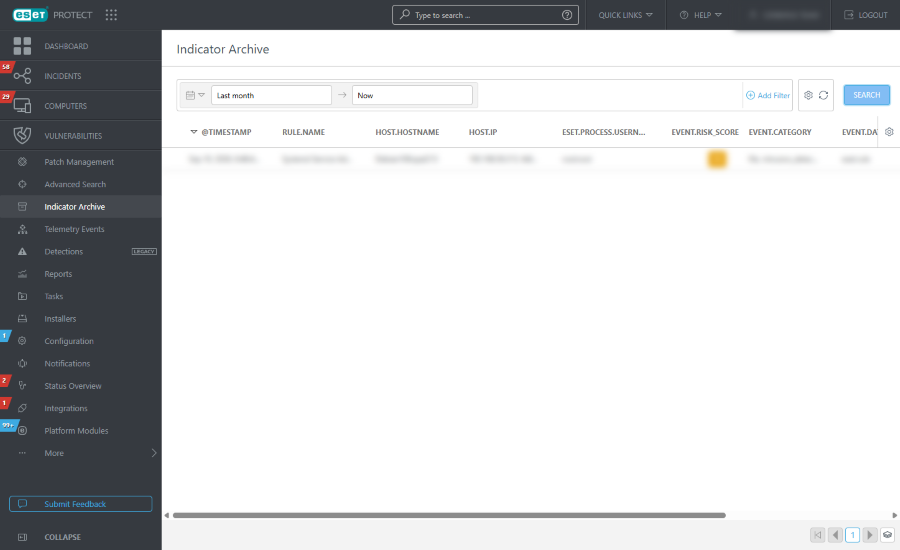
In the  Indicator Archive section, you can investigate older threats by searching for indicators with a longer retention period.
|
You need the Incident Management permission to access this section. |

Date filter
Use the date filter to limit results to a specific time window for focused investigation.
1.Click the calendar icon and select Single time or Timespan from the drop-down menu:
•Single time—click the Select date field to select a pre-defined relative range (Last 15 min, Last 30 min, Last hour, Last 24 hours, Last 7 days, Last 14 days, Last month) or define a custom relative range via Select direction, Enter amount and Select unit.
•Timespan—click the Start date and End date to specify them as either Relative or Absolute (exact dates/times).
2.Click Run to apply the filter and update results.
Filter panel
1.Click Add Filter or click into the filter panel to select a field and set its value. In the filter field, type a search term or select items from the drop-down menu.
2.For some filters, you can select the operator by clicking the operator icon next to the filter name (the available operators depend on the filter type):
 Equal to or Contains
 Not equal to or Does not contain
 Greater than or equal to
 Less than or equal to
 Is one of
 Is not one of
3.Press Enter. Active filters are highlighted in blue.
Filters can be saved to your user profile so that you can use them again in the future. Click the  Presets icon to manage filter sets:
Filter sets |
Your saved filters, click one to apply it. The applied filter is denoted with a |
|
Create a new preset from your current filter configuration. When the preset is saved, you cannot edit the filter configuration in the preset. Select Include time range and columns in this template to save the time range and column visibility in the preset. |
|
Remove or rename existing presets. Click Save to apply the changes to presets. |
|
Click to remove only the current values from all filter fields in the filter panel. Saved presets will remain unchanged. |
|
Click to remove all filter fields from the filter panel. Saved presets will remain unchanged. |
|
Remove filter fields with no value from the filter panel. Saved presets will remain unchanged. |
|
Reset the filter panel and show the default filters. Saved presets will remain unchanged. |


Indicators table
Click the gear icon in a column header to access table actions:
•Select any of the Actions: Edit columns—sort the values in the column. Use the wizard to adjust ( add,
add,  remove,
 reorder) the displayed columns. You can also use drag-and-drop to adjust the columns. Click Reset to reset the table columns to their default state (default available columns in a default order). Auto-fit columns—automatically adjust column widths to fit content, Display Relative Time/Display Absolute Time—select relative timestamps (for example, 5 minutes ago) or absolute timestamps.
•Table Sorting: Reset Sorting—clear all applied sorting settings.
You can click the three dots  button in the indicator row to Filter in or Filter out a specific attribute, or Copy to clipboard.
Click any row to show a detailed view of the selected indicator in the side panel. You can click View details to open a new window tab with the Indicator Details Overview.
•Overview—details vary by the indicator type. Panel color reflects the severity level: blue—low severity, yellow—medium severity and red—high severity.
oYou can type into the search bar to filter across field names and their values.
oYou can click the three dots button or anywhere in the attribute row to Filter in or Filter out a specific attribute, Copy to clipboard or Add column to add selected field as a table column.
oFind a detailed explanation in the Open XDR Data Format section.
•JSON—a structured JSON view of the indicator. Click Copy to Clipboard to copy the JSON.