Deployment steps - SCCM
To deploy ESET Management Agent using SCCM, continue with the following steps:
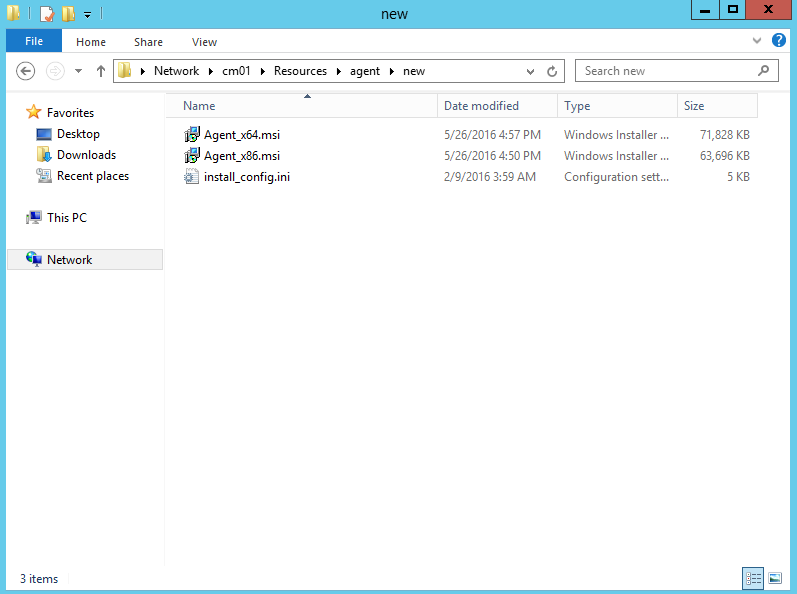
1.Put the ESET Management Agent installer .msi files and install_config.ini file into a shared folder.
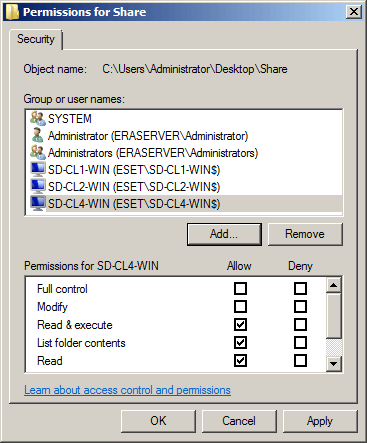
Client computers will require read/execute access to this shared folder. |
2.Open SCCM console and click Software Library. In Application Management right-click Applications and choose Create Application. Choose Windows Installer (*.msi file).
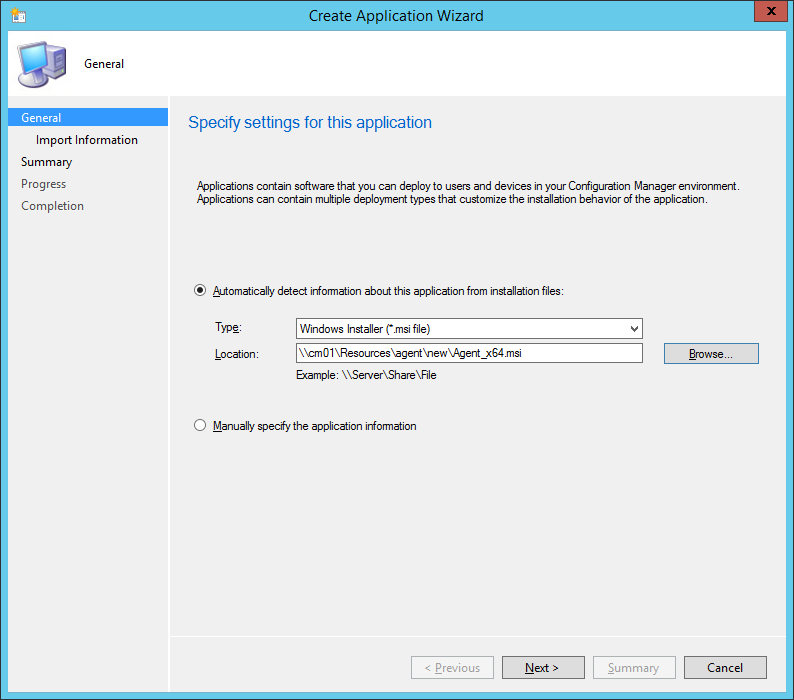
3.Specify all required information about the application and click Next.
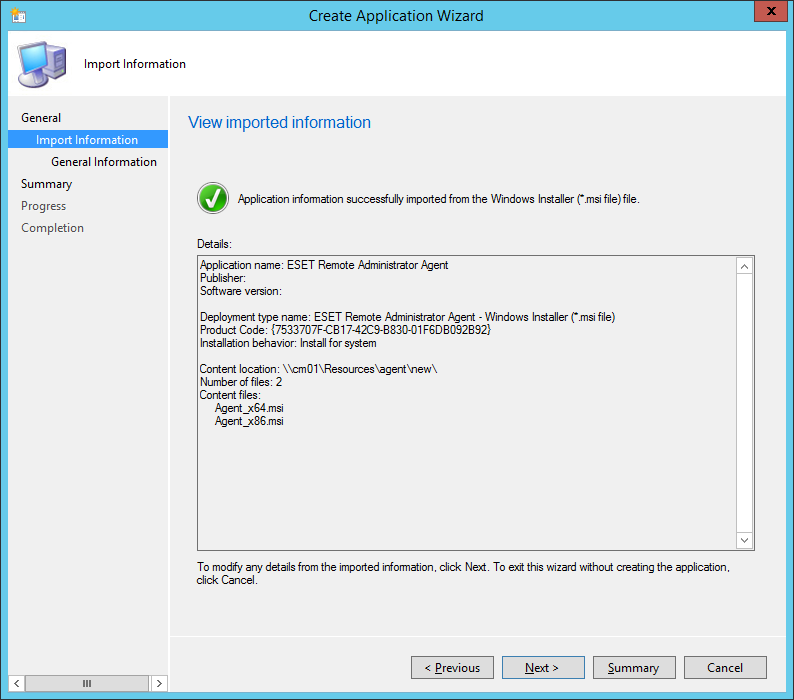
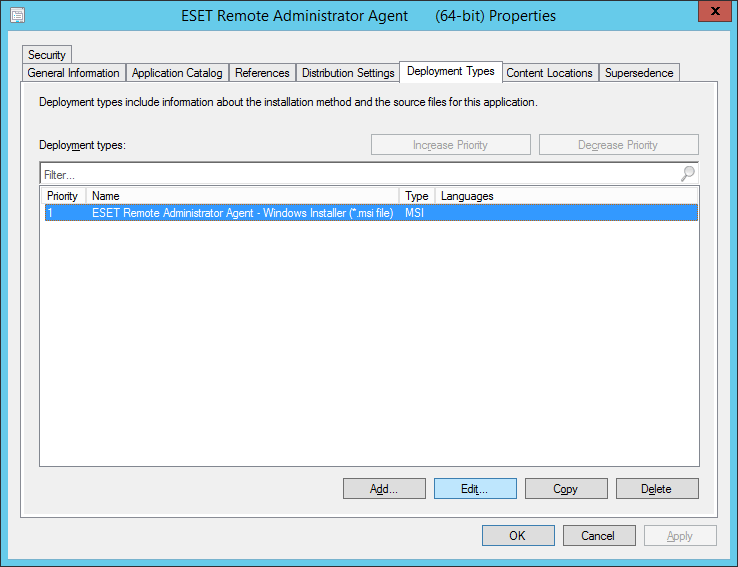
4.Right-click the ESET Management Agent Application, click the Deployment Types tab, select the only deployment there and then click Edit.
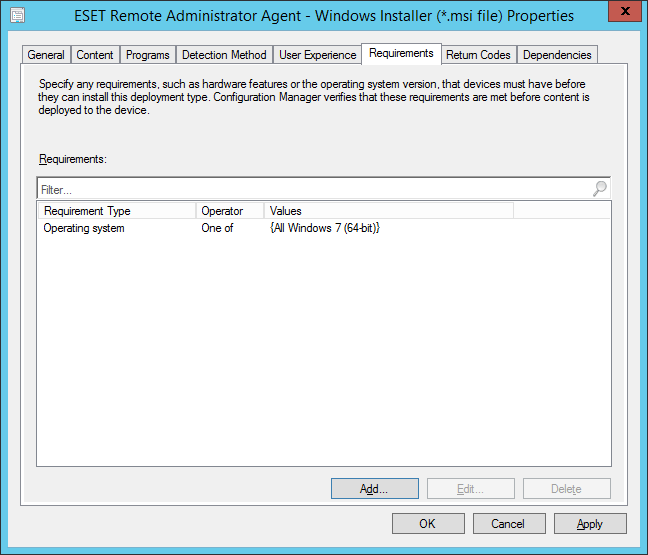
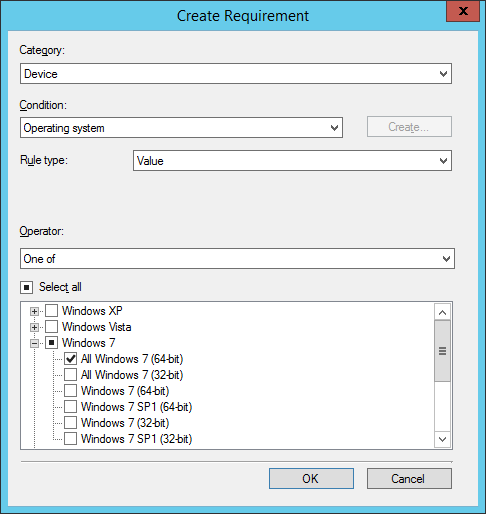
5. Click the Requirements tab and then click Add. Select Operating system from the Condition drop-down menu, select One of from the Operator drop-down menu and then specify the operating systems you will install to by selecting the appropriate check box(es). Click OK when you are finished and then click OK to close any remaining windows and save your changes.
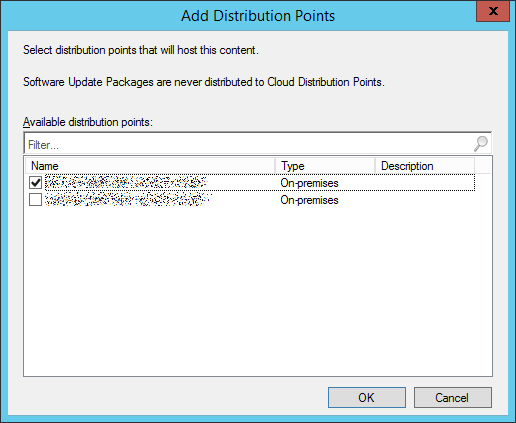
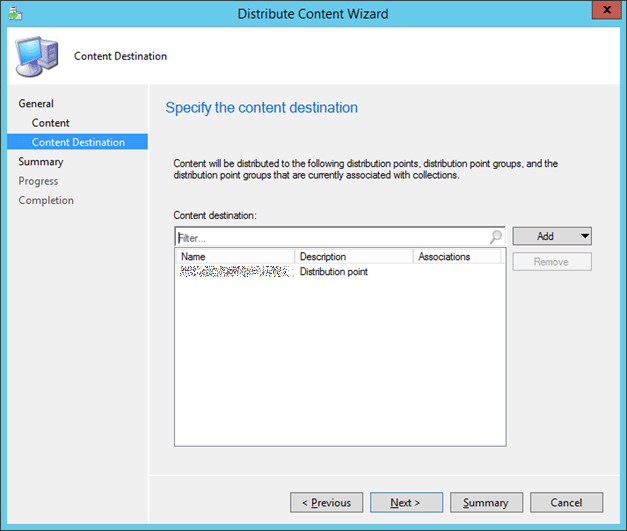
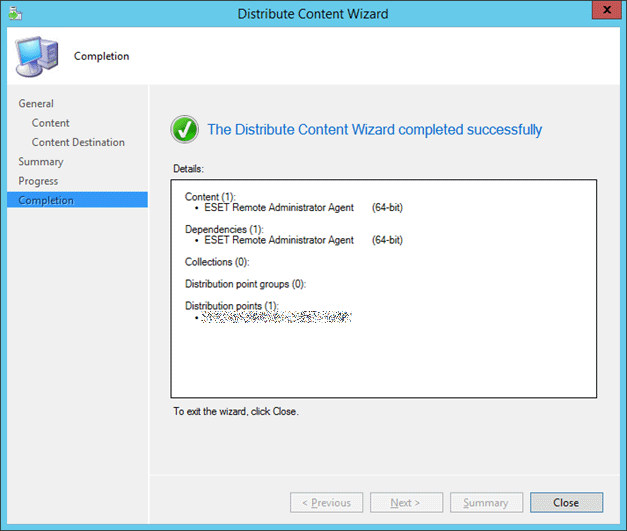
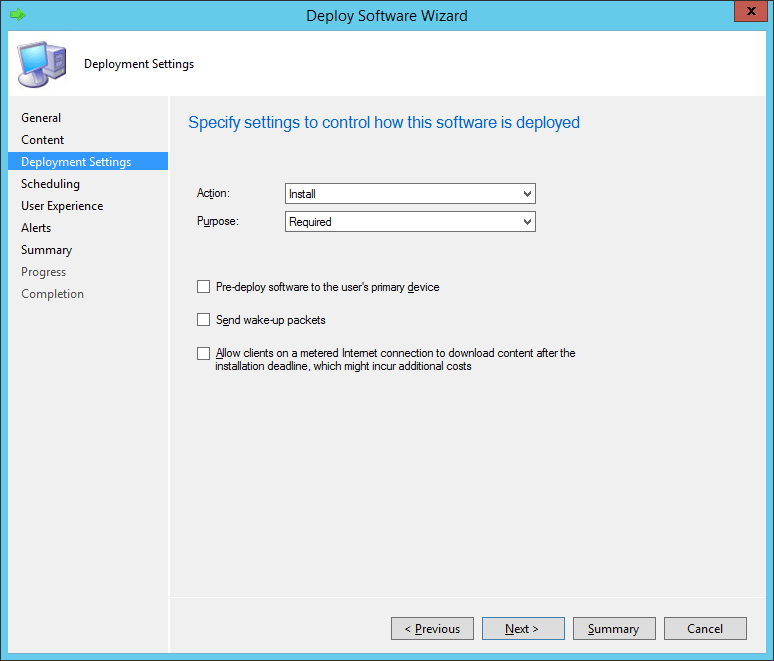
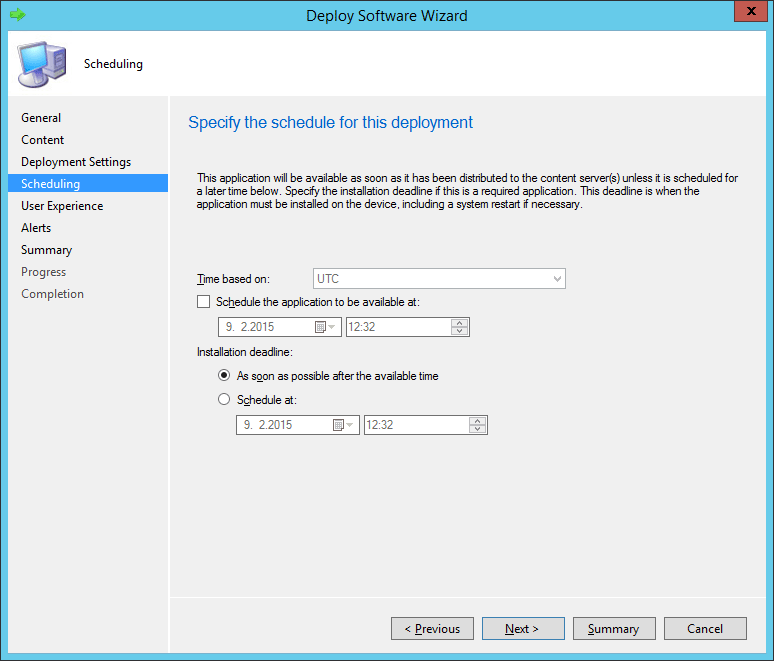
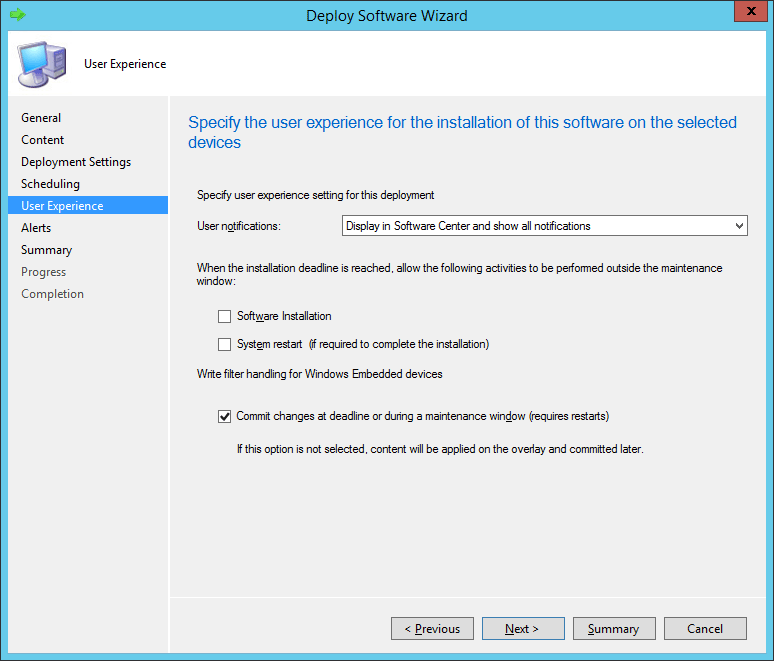
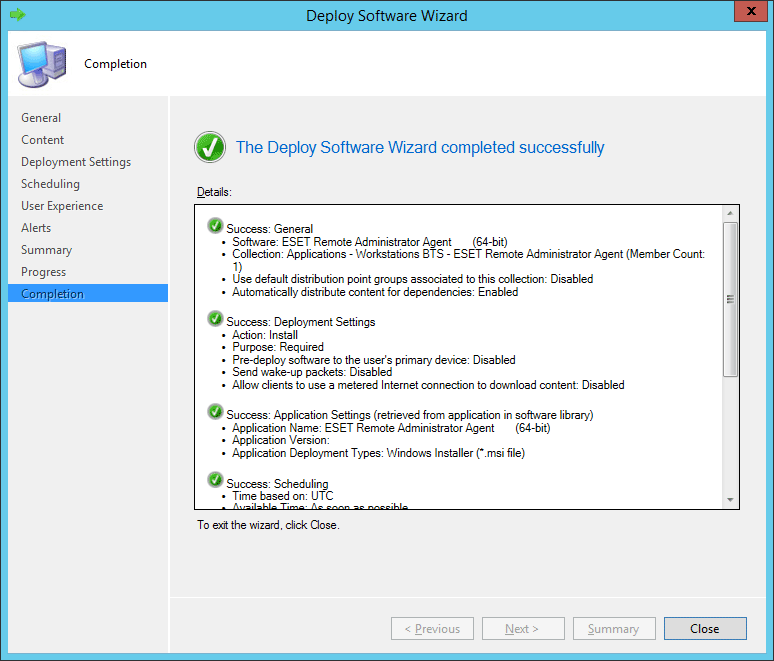
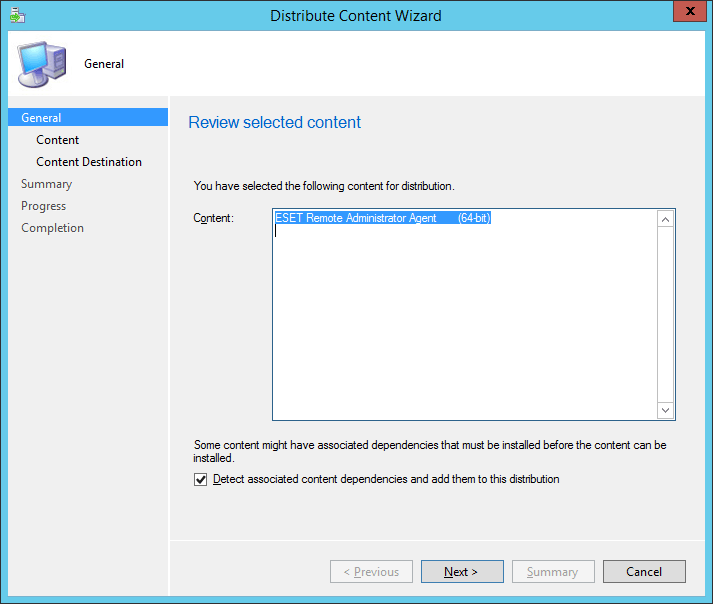
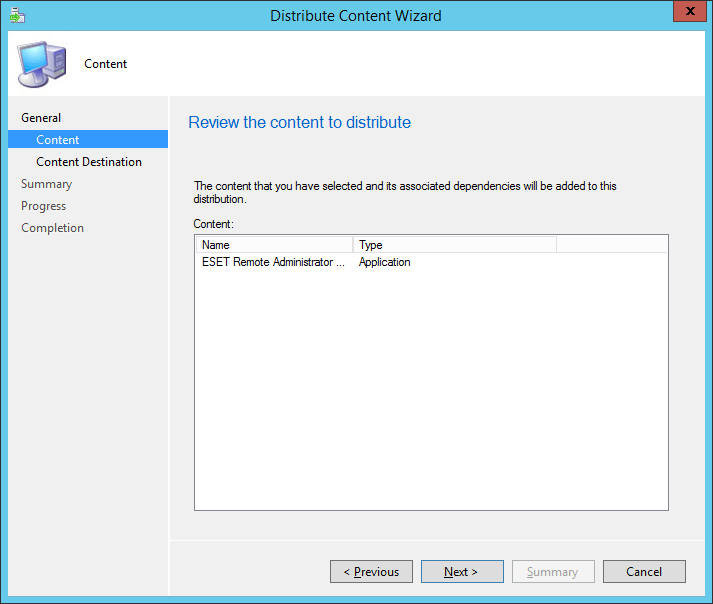
6. In the System Center Software Library, right-click your new application and select Distribute Content from the context menu. Follow the prompts in the Deploy Software Wizard to complete deployment of the application.
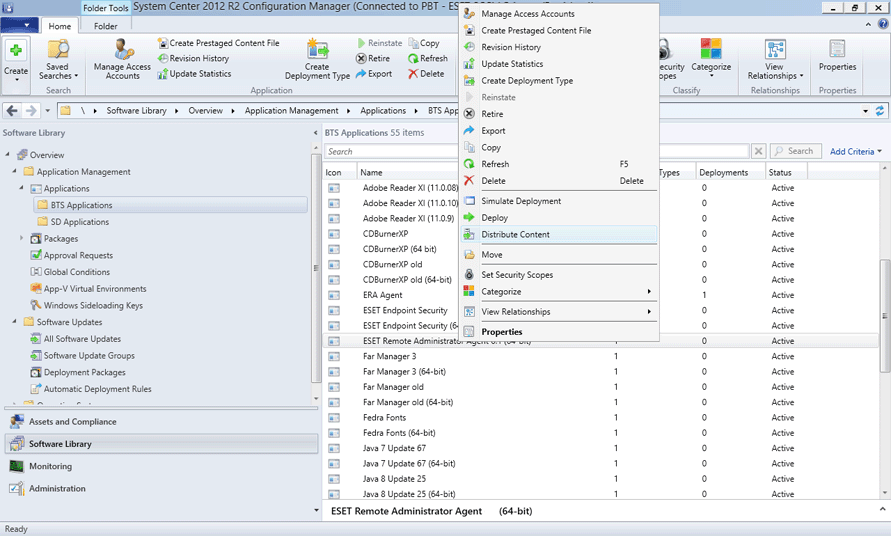
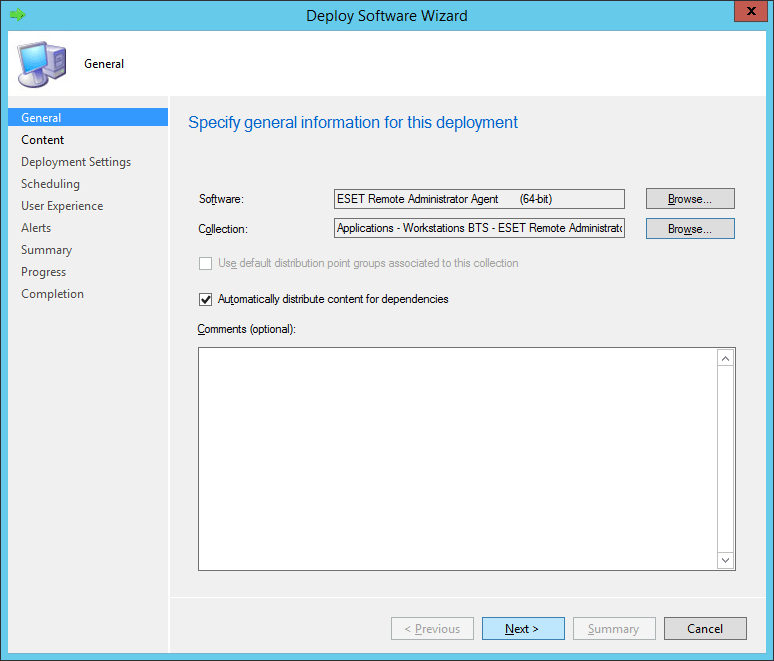
7.Right-click the application and choose Deploy. Follow the wizard and choose the collection and destination where you want to deploy the Agent.
