Push Authentication
Both OTP and Push authentication can be enabled per user or for multiple users in one go in the Users section of the ESA Web Console.
It may take some time for the push notifications to start working after the user's phone has been provisioned, or push notifications have been turned on in the ESA Web Console. |
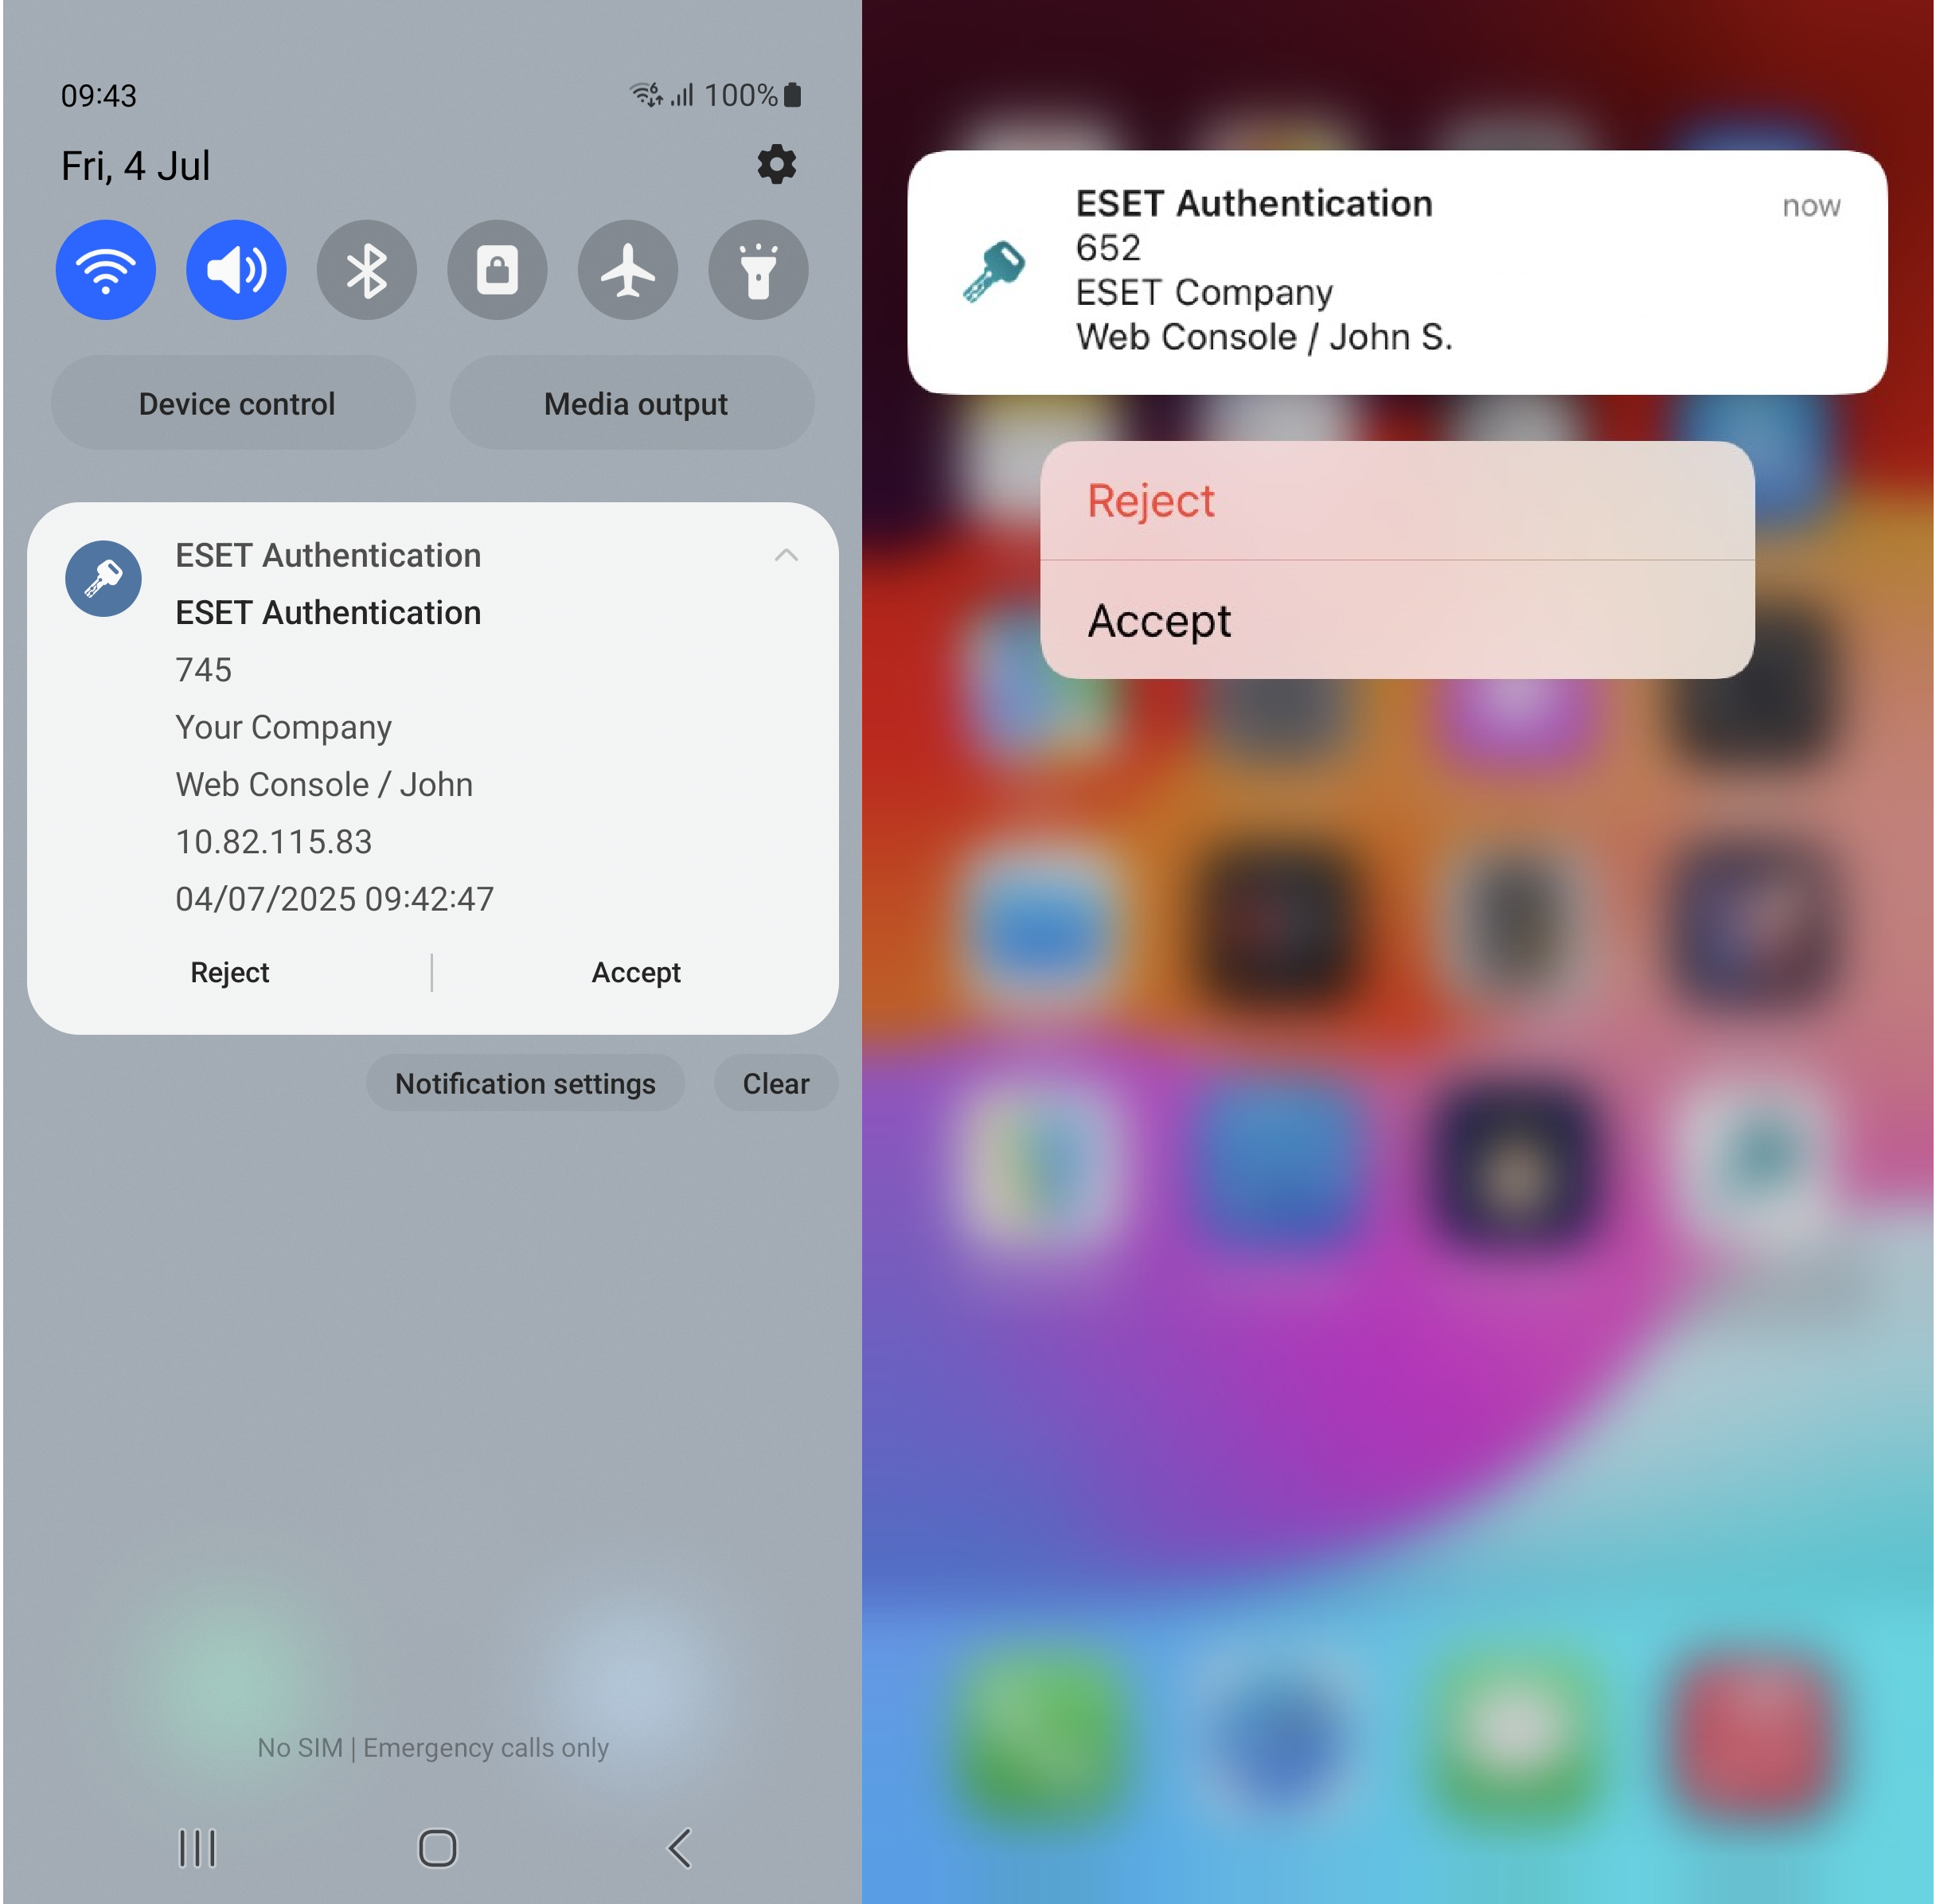
Users can Accept or Reject the authentication request directly from the notification area of their mobile device.

Android; iOS
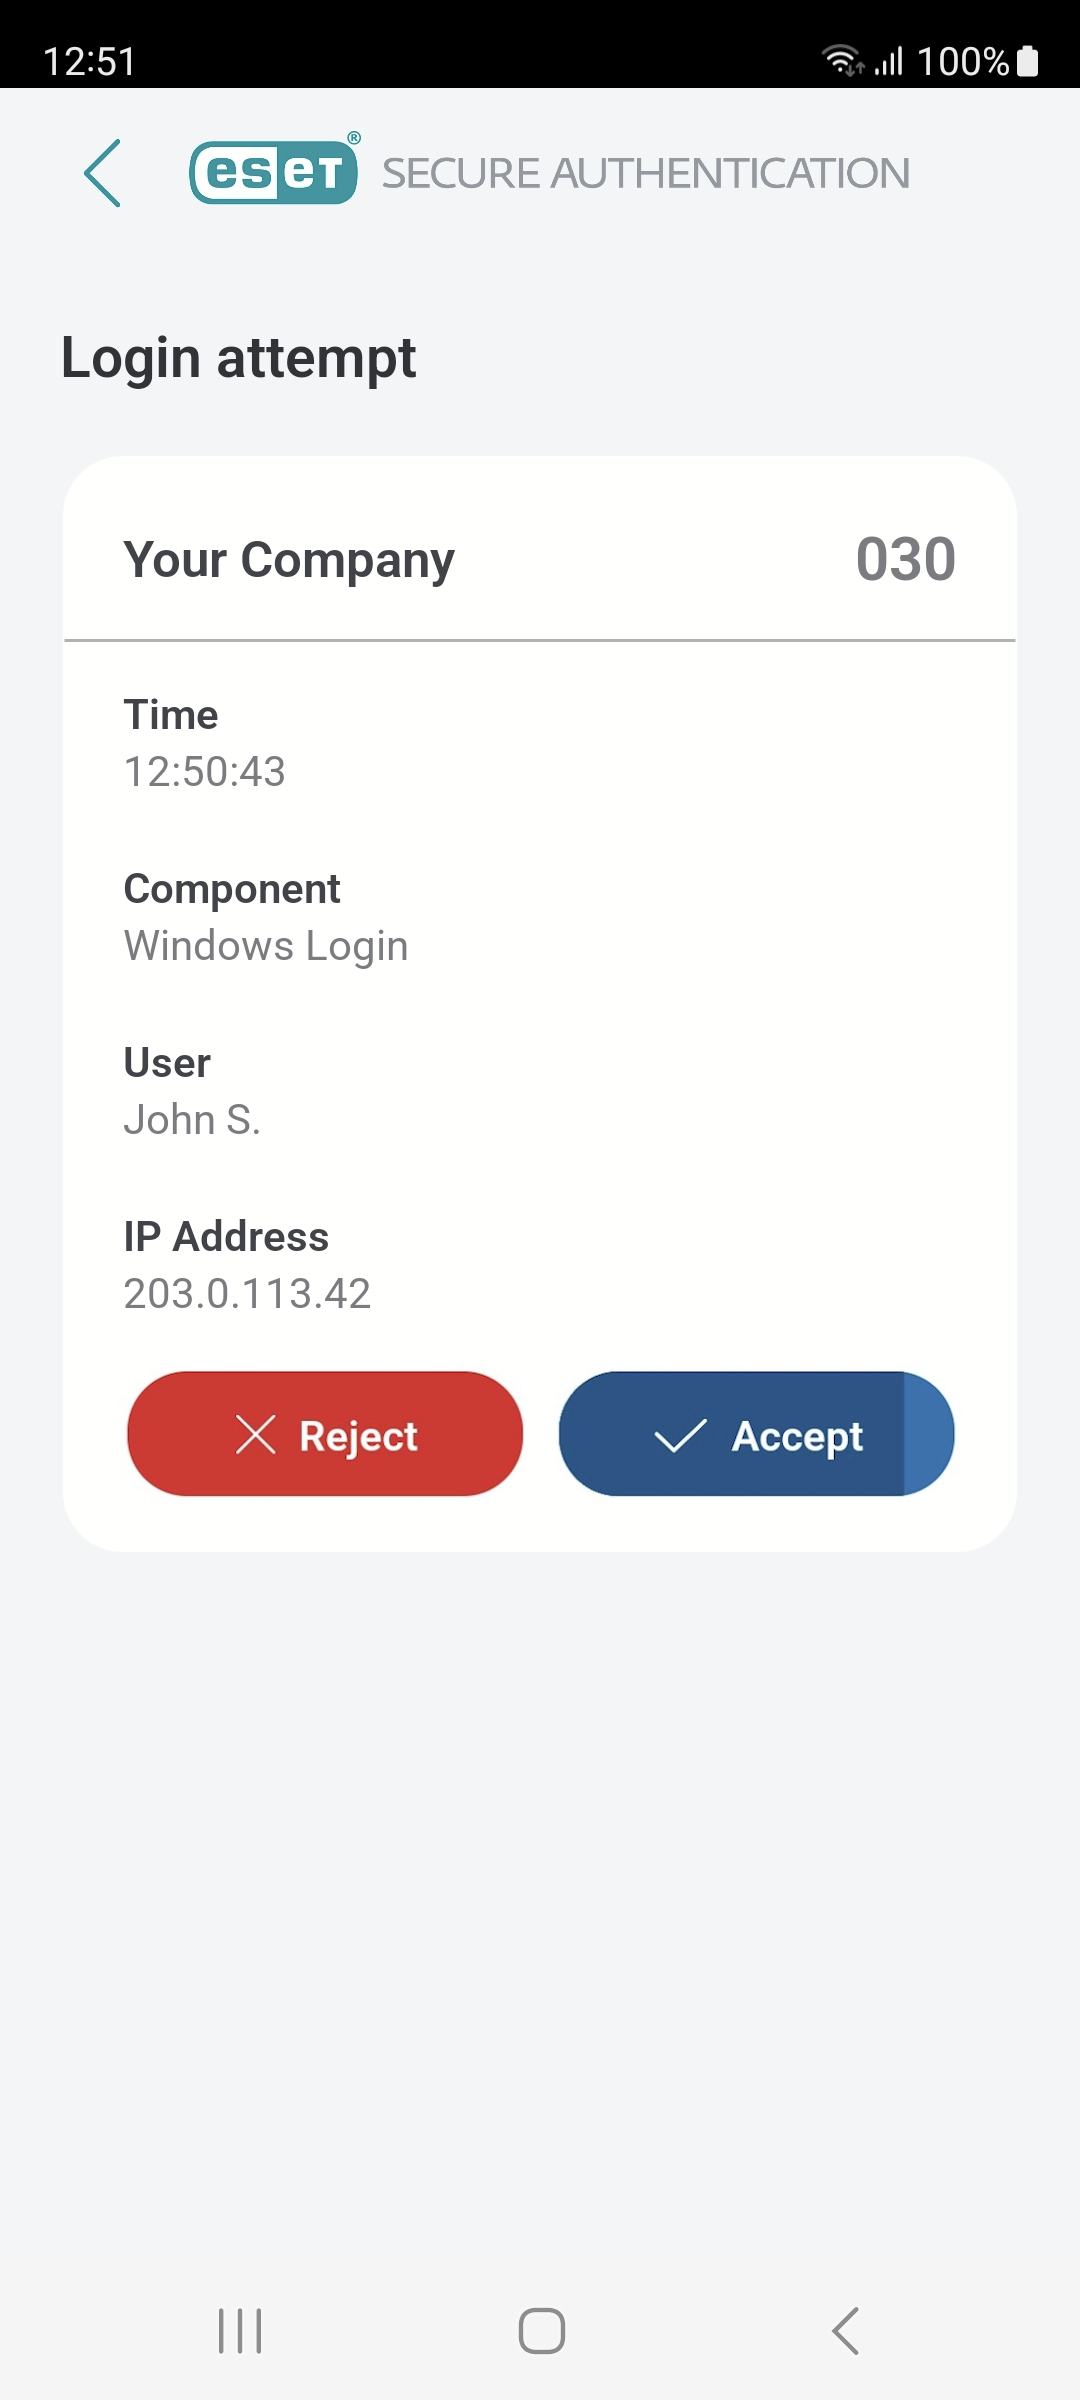
Tap the notification somewhere off the Accept and Reject buttons to open the Mobile application where you can approve or reject the authentication request.
ESA Mobile App
You can also manage Push authentication requests on Android OS or iOS smart watches.
Each push notification contains an ID that matches the ID of the authentication request screen.
What if I reject the push notification?
Rejection of push notification does not send feedback to the Authentication Server (AS), but closes the notification bubble/window. If the AS does not receive approval in 150 seconds, the user is not granted access to the service/computer protected by 2FA.
Android smart watch
When an ESET notification displays on an Android smart watch, if a PIN-protected Mobile Application is in use, 'Approve on phone' is displayed.
Apple watch
When an ESET notification displays on an Apple watch, chose Accept or Reject.
If a PIN-protected Mobile Application is in use, it is possible to approve the authentication request only on the mobile device.
Approval for new IPs
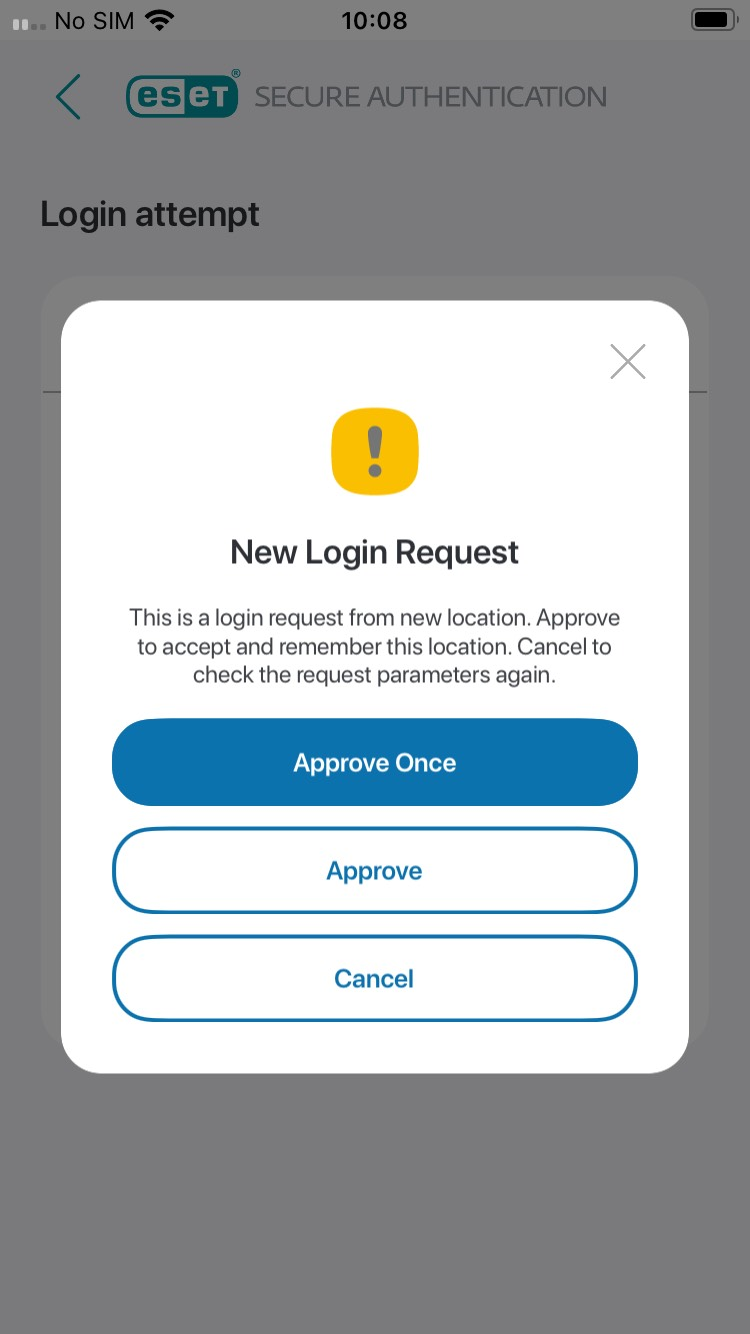
This option, available in the Settings, allows users to require approval for push logins from new locations. When PIN protection is enabled, this option is enabled by default.
When the new login request from a new location pops up, after accepting, this screen displays:
ESA Mobile App
The administrator can set ESET Secure Authentication to require this option. It will pop up for these accounts even if the user has turned off this setting.
When you want to delete trusted locations, go to Settings > Delete trusted locations.

