VMware vSphere/ESXi
1.Connect to your vCenter Server using vSphere Client, or directly to ESXi server.
2.If you use the vSphere Client for desktop, click File > Deploy OVF Template. If you use the vSphere Web Client, click Actions > Deploy OVF Template.
3.Click Browse, navigate to the protect_appliance.ova file that you downloaded from the ESET website and then click Open.
Unsupported versions of VMware ESXi do not accept SHA-256 certificates. If you see a certificate error when importing the ESET PROTECT VA .ova package, you need to delete the .cert file from .ova and then proceed with the deployment. |
4.Click Next in the OVF Template Details window.
5.Read and accept the End User License Agreement (EULA).
6.Follow the instructions on screen to complete installation and specify the following information about your virtual client:
•Name and Location—Specify a name for the deployed template and a location where virtual machine files are stored.
•Host / Cluster—Select the host or cluster on which you want to run the template.
•Resource Pool—Select the resource pool within which you want to deploy the template.
•Storage—Select a location to store virtual machine files.
•Disk Format—Select the format that virtual disks will use.
•Network Mapping—Select the network for the virtual machine to use. Ensure that you select the virtual machine network associated with the IP pool you created.
7.Click Next, review the deployment summary and click Finish. The process will automatically create a virtual machine with the settings you specify.
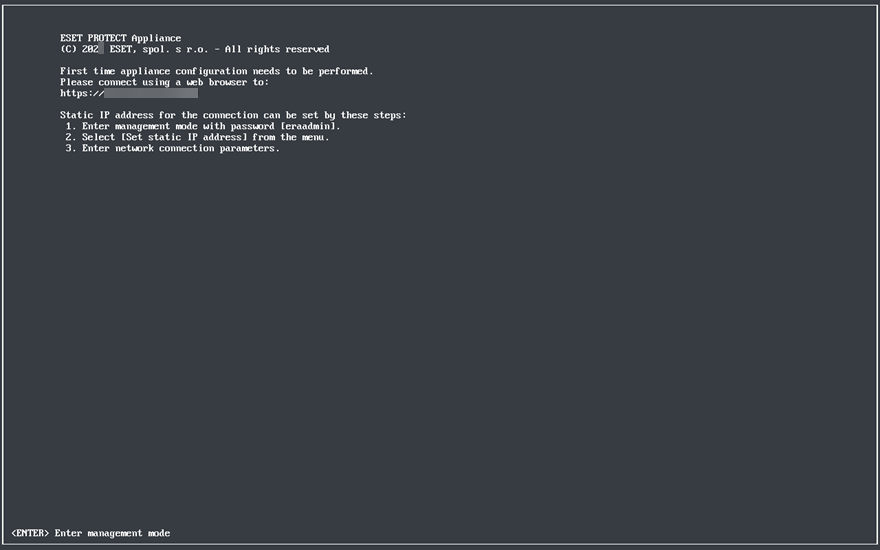
8.When the ESET PROTECT VA is successfully deployed, power it on. The following information will be displayed:

Open your web browser and type the IP address of your newly deployed ESET PROTECT Virtual Appliance in the address bar. You can see the IP address listed in the console window (as shown above). It will say First time appliance configuration needs to be performed. Please connect using a web browser to:
https://[IP address:8443]
The next step is to configure your appliance via the web interface.
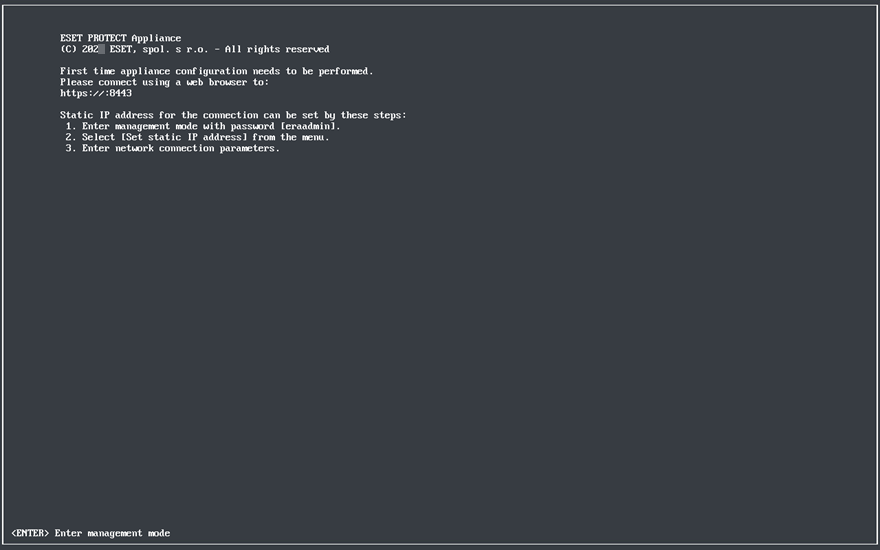
If you do not have a DHCP server in your network, you will need to Set static IP address for the ESET PROTECT VA via Management Console. If there is no IP address assigned, the following information will be displayed; the URL will not contain an IP address. If no IP address is assigned, the DHCP server may not be able to assign one. Ensure there are free IP addresses in the subnet where the VA is located. |

We highly recommend that you configure vCenter roles and permissions in such a way that VMware users will not be able to access the ESET PROTECT virtual machine. This will prevent users from tampering with the ESET PROTECT VM. There is no need for ESET PROTECT users to access the VM. To manage access to ESET PROTECT On-Prem, use Access Rights in the ESET PROTECT Web Console. |