Citrix
Prerequisites
•Your IPv4 network is available in the Citrix environment. IPv6 is not supported in the ESET PROTECT VA.
•The appliance .ovf file is available on the machine where you will deploy ESET PROTECT VA.
•Pool Admin Permissions are required to import the OVF/OVA package.
•Enough storage space must be available to the deploying user, at least 100 GB.
Deployment process
You can ignore warnings during the OVF/OVA import—the Virtual Appliance is based on VMware and Citrix XenCenter expects explicit OVF version and different hardware compatibility type. |
1.Select File > Import.
2.Click Browse, navigate to the protect_appliance.ova file that you downloaded from the ESET website and click Next.
3.Select the check box I accept the End User License Agreements and click Next.
4.Choose the pool or standalone server where you want to place the ESET PROTECT VA and click Next.
5.Place the imported virtual disk in a storage repository and click Next.
6.Map the virtual network interfaces by selecting the Target Network and click Next.
7.Choose to verify the digital signature (optional) and click Next.
8.Select Don't use Operating System Fixup and click Next.
9.Select the network (the same one you selected in step 6 above) where you will install the temporary ESET PROTECT VA used to perform the import operation and click Next.
10. Review the settings and click Finish.
The deployment process can take some time, during which the Citrix server will appear idle. Do not interrupt it.
See the vendor's documentation on OVF/OVA deployment. |
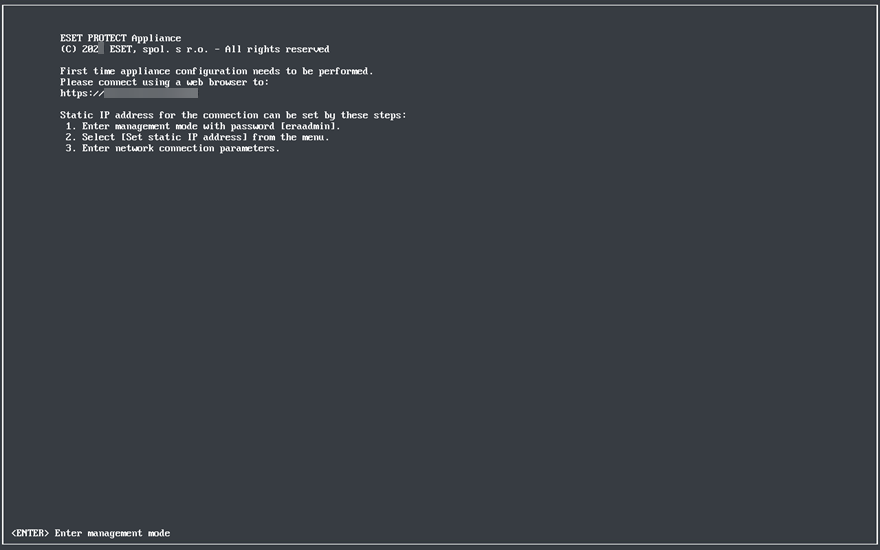
When the ESET PROTECT VA is successfully deployed, power it on. The following information will be displayed:

Open your web browser and type the IP address of your newly deployed ESET PROTECT Virtual Appliance in the address bar. You can see the IP address listed in the console window (as shown above). It will say First time appliance configuration needs to be performed. Please connect using a web browser to:
•https://[IP address] (CentOS)
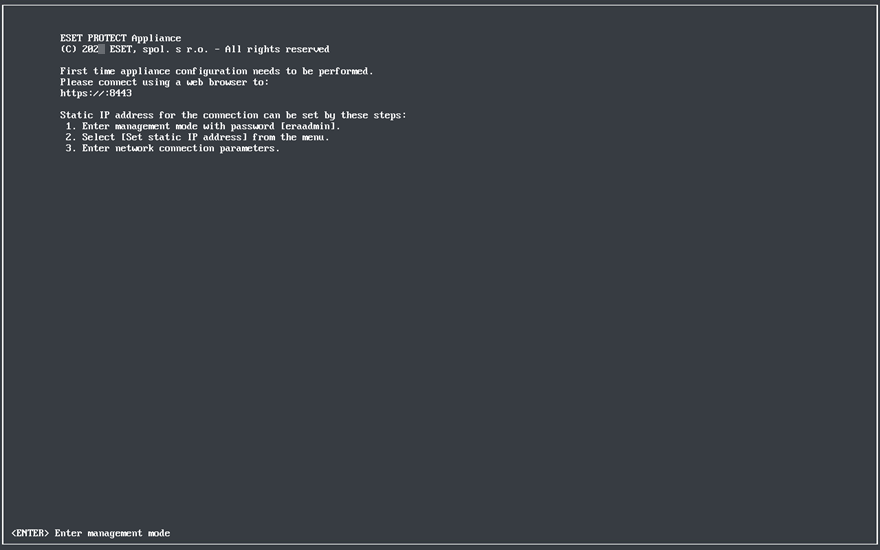
•https://[IP address:8443] (Rocky Linux)
The next step is to configure your appliance via the web interface.
If you do not have a DHCP server in your network, you will need to Set static IP address for the ESET PROTECT VA via Management Console. If there is no IP address assigned, the following information will be displayed; the URL will not contain an IP address. If no IP address is assigned, the DHCP server may not be able to assign one. Ensure there are free IP addresses in the subnet where the VA is located. |
