Rule wizard
You can define conditions and actions using the Rule wizard. Define Condition(s) first, then Action(s). Some conditions and actions differ for rules specific to On-access filter and On-demand database scan. This is because each of these protection types use a little different approach when processing messages.
1.Click Add and a Rule condition window will appear where you can select condition type, operation and value.
IMPORTANT You can define multiple conditions. If you do so, all of the conditions must be met for the rule to be applied. All conditions are connected using the logical operator AND. Even if most of the conditions are met and only a single one isn't, the condition evaluation result is considered not met and the rule's action cannot be taken. |
2.Click Add (at the bottom) to add a Rule action.
NOTE It is possible to add multiple actions for one rule. |
3.Once conditions and actions are defined, type a Name for the rule (something that you'll recognize the rule by), this name will be displayed in the Rules list. Name is a mandatory field, if it is highlighted in red, type rule name in the text box and click OK button to create the rule. The red highlight does not disappear even though you've entered a rule name, it disappears only after you've clicked OK.
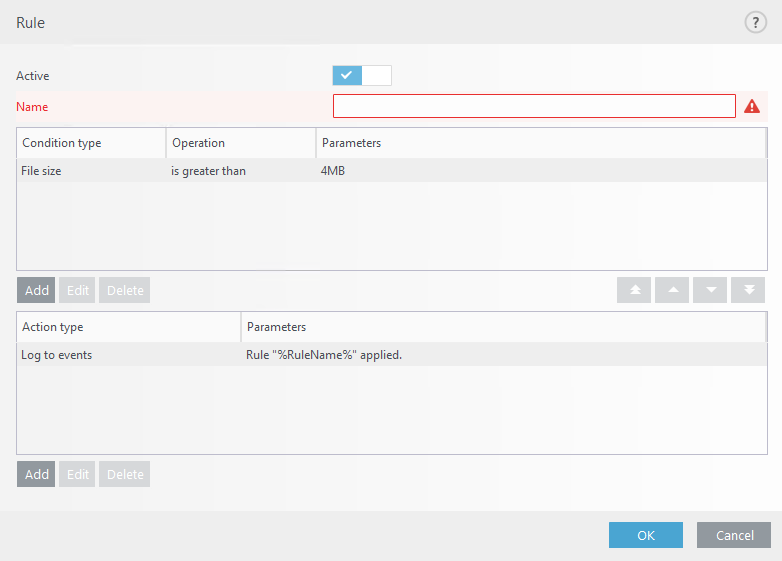
4.If you want to prepare rules but plan to use them later, you can click the slider bar next to Active to deactivate the rule. To activate the rule, select the check box next to the rule you want to activate from the Rules list.
NOTE If a new rule is added or an existing rule has been modified, message rescan will automatically start using the new/modified rules. |